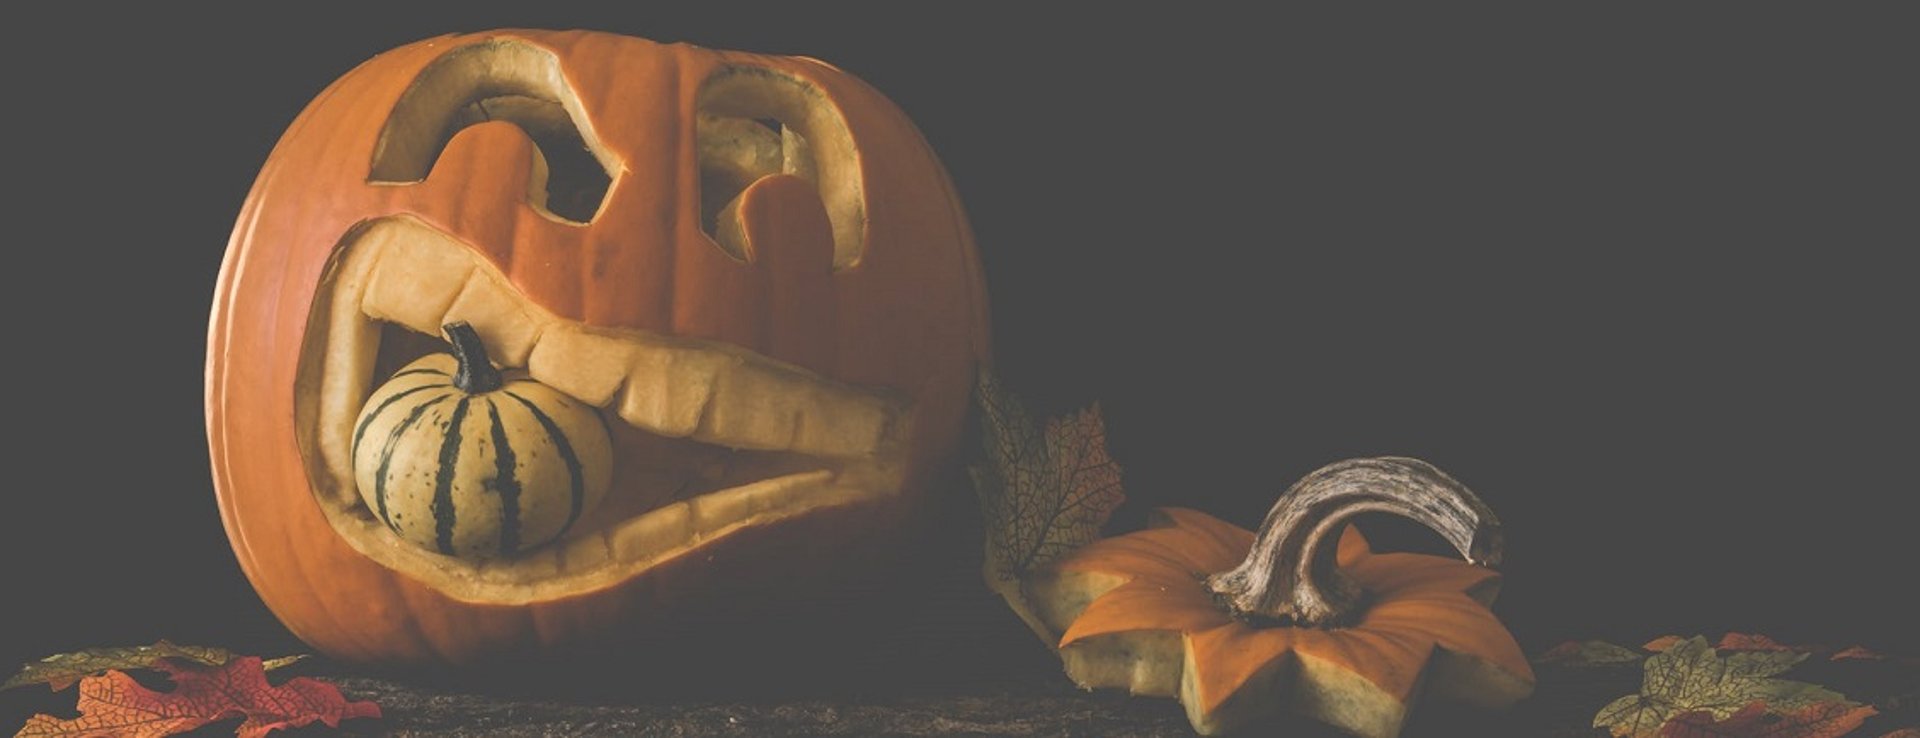


There is no Halloween without jack-o-Lanterns littering the streets. While it is relatively easy to carve a pumpkin, having a clear plan certainly helps, particularly when it is your first time. That’s why we prepared this guide, to help you carve the perfect decorative pumpkin.
Buying the Right Pumpkin
Pumpkins come in different varieties, and, believe it or not, the one you buy to carve makes a difference. During Halloween, you will get pumpkins labeled “carving pumpkins.” These are not only sturdier than pie pumpkins but also have fewer seeds. Moreover, the graininess of carving pumpkins seeds make them easier to clean on the inside.
When looking for carving pumpkins, make sure you pick one that is sturdy. To check the sturdiness of your pumpkin, simply tap on the surface; if you hear a hollow sound, then you have chosen the right pumpkin.
Pumpkin Prep
No matter how organized you are, things will get a little messy at some point during this process; therefore choosing a workstation that can get a little dirty is key. Regardless of whether you chose to work on the ground or on a table, layering your surface up with butcher paper or newspaper is always a good idea. This way, all the mess will be collected on the layered surface, making it easier for you to clean up at the end.
The next step is to get all the tools ready so you do not need to keep moving back and forth with your messy hands to get the tools from a separate area. To properly carve a pumpkin, you will need:
Cleaning Out the Pumpkin
To clean the pumpkin, you have to make an opening on the top. Using a sharpie or marker, outline a round lid around the stem with a diameter of around 4 to 5 inches. In order to make it easier, you can add a notch at the back. Then, using a slim carving knife or serrated knife, cut along the drawn circular line. Ensure to slice through at roughly a 45-degree inward angle to make it easier to take off the lid once you’re done.
Put your hands inside and remove the seeds and put them in a bowl. Now, scoop out the remaining guts of the pumpkin using a scraper or ladle. Clean it out until no stringy bits are left inside. Lastly, take a kitchen towel and wipe the outer surface of the pumpkin. This will make it easier for you to carve on it.
Carving Out the Design
Similar to the above step, use your sharpie or marker to draw the design on the pumpkin. This will make it easier to cut out the shapes. Using a sharp knife make straight cuts along with the drawn surface and remove the pieces as you go.
Additionally, using your wire tool or X-ACTO knife scrape out the jagged lines or stringy bits that may have occurred while carving. In the end, you should have a clean design.
Your jack-o-lantern is ready; all you have to do is light it up. Open the lid and place the tea light candle at the bottom and light up using your lighter or long match.
Remember, pumpkin patches aren’t always easy to get to. If you are in the market for an ultra-capable SUV, a sleek sedan, or anything any between, reach out to one of our representatives today to get the ball rolling.